
Replacing an angle shut-off valve (also called an angle stop) in a toilet is an essential plumbing task every homeowner should be familiar with. These valves control the water supply to your toilet and are critical for performing repairs or replacing fixtures without turning off water to the entire house. Over time, shut-off valves can become worn, corroded, stuck or leaky, making them unreliable or even hazardous. Whether you’re experiencing a leak, remodeling your bathroom or just upgrading old hardware, replacing the toilet’s angle valve is a smart and practical maintenance step.
In this comprehensive guide, you’ll learn how to identify when a shut-off valve needs replacing, gather the right tools and follow a step-by-step installation process. We’ll also cover valve types, safety tips and common troubleshooting advice to ensure you complete the job correctly and safely. This article is ideal for DIY homeowners, beginner plumbers and property managers looking to maintain a functional and leak-free plumbing system.
What Is an Angle Shut-Off Valve?
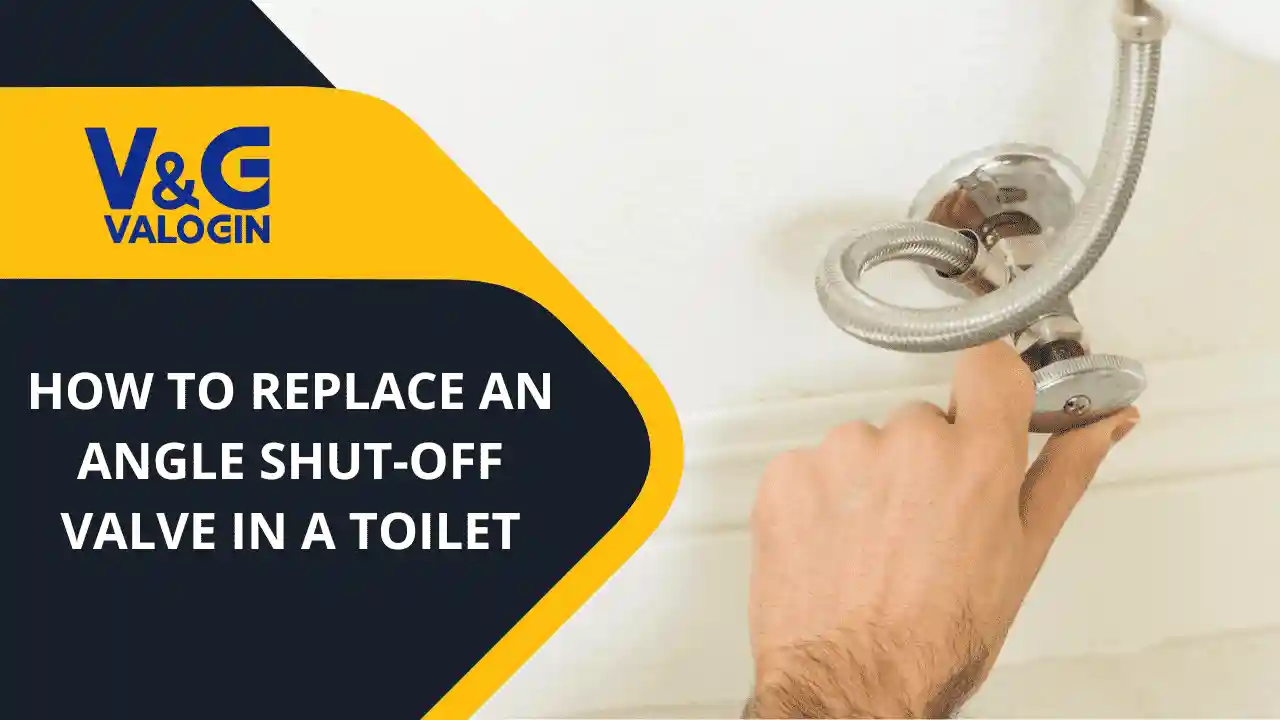
An angle shut-off valve is a small yet critical component in your toilet’s plumbing. Positioned where the toilet water line connects to the wall, this valve controls the flow of water from your main supply line to the toilet tank. It is called an “angle” valve because the water flow direction changes by 90 degrees—typically from the wall to the toilet.
These valves are usually made of brass or plastic and can be compression, threaded or push-fit (like SharkBite) depending on the pipe type. They allow you to shut off water to the toilet only, which is especially useful during repairs or emergencies such as leaks or overflows.
Keywords: angle stop valve, toilet shut-off valve, 90-degree plumbing valve, toilet water supply valve
Signs Your Toilet Shut-Off Valve Needs Replacing
Knowing when to replace an angle valve is key to preventing water damage and ensuring your plumbing system runs smoothly. Here are the most common signs:
-
Leaking valve: Water drips from the valve handle, stem or compression fitting.
-
Stiff or stuck valve: The handle is hard to turn or doesn’t shut off water completely.
-
Corroded components: Rust or mineral buildup around the valve body indicates deterioration.
-
Old valve design: Outdated galvanized steel or plastic valves are prone to failure.
-
Renovation or fixture upgrade: Changing the toilet or plumbing lines may require a new valve.
Keywords: toilet valve leak, corroded angle stop, shut-off valve replacement signs, plumbing fixture maintenance
Tools and Supplies You’ll Need
Before you begin, gather the following tools and materials:
Tools:
-
Adjustable wrench or channel-lock pliers
-
Pipe cutter or mini hacksaw (if pipe cutting is needed)
-
Teflon tape (plumber’s tape)
-
Screwdriver (for securing mounting clips if needed)
-
Bucket or towel (to catch residual water)
Materials:
-
New angle shut-off valve (choose the right type: compression, push-fit or threaded)
-
Replacement toilet supply line (optional but recommended if the current one is old or damaged)
Keywords: plumbing tools for valve replacement, angle stop installation kit, compression fitting, SharkBite valve
Types of Shut-Off Valves for Toilets
Choosing the correct shut-off valve depends on the pipe material and your comfort level with tools:
-
Compression Valve:
Best for copper or PEX pipes. Requires tightening a compression nut and ring (ferrule) with a wrench. Offers a secure, leak-resistant seal. -
Push-Fit Valve (SharkBite or similar):
Easiest for DIYers. No tools required—just push the valve onto the pipe. Works on copper, PEX and CPVC. -
Threaded Valve:
Used with threaded galvanized or brass pipes. Requires Teflon tape for sealing threads.
Keywords: compression vs. push-fit shut-off valve, best valve type for toilets, SharkBite valve installation
Step-by-Step Guide to Replacing the Shut-Off Valve

Step 1: Turn Off the Main Water Supply
Locate and turn off your home’s main water shut-off valve, usually found near the water meter or where the main line enters the house. After turning off the main water, flush the toilet to empty the tank and relieve water pressure in the system.
Place a bucket or towel underneath the existing valve to catch any remaining water.
Step 2: Disconnect the Water Supply Line
Use an adjustable wrench to loosen the nut connecting the supply line to the bottom of the angle valve. Detach the other end from the toilet tank inlet. If the supply line is old or damaged, replace it along with the valve.
Step 3: Remove the Old Shut-Off Valve
Use a wrench to loosen and remove the compression nut or threaded fitting that holds the valve onto the pipe. If the valve is soldered or permanently attached, use a pipe cutter to remove the section of pipe and prepare for a new valve installation.
Clean the exposed pipe end to ensure a smooth and leak-free connection for the new valve.
Step 4: Install the New Angle Valve
Follow the appropriate steps based on the valve type:
-
Compression Valve: Slide the compression nut and ferrule (brass ring) onto the pipe. Push the valve body onto the pipe, then tighten the compression nut with a wrench. Avoid over-tightening, which can damage the pipe.
-
Push-Fit Valve: Push the valve onto the pipe until it clicks into place. Ensure the pipe is cut squarely and is free of burrs. No Teflon tape or wrenches are required.
-
Threaded Valve: Wrap the pipe threads with Teflon tape (2-3 wraps) to prevent leaks. Thread the valve on and tighten with a wrench.
Important: Make sure the valve outlet is facing upward toward the toilet tank to align properly with the supply line.
Step 5: Reconnect the Toilet Supply Line
Reattach the flexible water supply line from the toilet tank to the new valve outlet. Hand-tighten the connection first, then use a wrench to snug it. Do not overtighten, as it can crack plastic fittings.
Step 6: Turn On Water and Check for Leaks
Slowly reopen the main water supply, then open the new shut-off valve by turning the handle counterclockwise. Allow the toilet tank to fill and carefully inspect all connections for any signs of leaking.
If you notice small leaks, gently tighten the fittings until the leak stops.
Safety Tips for Replacing a Toilet Angle Valve
-
Always turn off the main water supply before starting any plumbing work.
-
Use tools carefully to avoid damaging pipes or valves.
-
Wear gloves and eye protection, especially when cutting pipe.
-
Test the new valve for at least 24 hours after installation to ensure long-term leak resistance.
Common Mistakes to Avoid
-
Using the wrong valve type for your pipe material.
-
Over-tightening fittings, which can strip threads or crush copper pipes.
-
Not wrapping threaded valves with Teflon tape, leading to leaks.
-
Skipping pipe cleaning, which affects the seal for compression and push-fit valves.
Keywords: plumbing safety tips, common valve installation mistakes, toilet shut-off troubleshooting
Final Thoughts
Replacing a toilet angle shut-off valve is a manageable DIY project that helps maintain a secure and leak-free plumbing system. Whether your current valve is leaking, corroded or simply outdated, installing a new one ensures better water control and peace of mind. By following these step-by-step instructions and using the right tools and valve type, you can complete the job efficiently and with professional-level results.
For premium-quality angle valves, compression fittings and water supply accessories, check out our collection at valve.valogin.com. Our expert-engineered products are trusted in homes and industrial systems worldwide.

