
Gate valves, those unassuming but critical components found in pipelines, plumbing systems, and industrial machinery, are essential for controlling the flow of liquids and gases. They are the unsung heroes of fluid control, silently working behind the scenes to ensure the smooth operation of countless processes. Yet, like any mechanical device, gate valves are not immune to the passage of time and the wear and tear that accompanies it. A common and frustrating issue that valve operators and homeowners alike encounter is a gate valve that refuses to budge, remaining stuck in either the open or closed position.
When faced with such a predicament, it can be tempting to resort to brute force, but this often leads to further damage and increased frustration. In this comprehensive guide, we will embark on a journey through the inner workings of gate valves, explore the various reasons they become stuck, and equip you with the knowledge and techniques required to elegantly resolve this common problem. So, if you’ve ever found yourself wrestling with a defiant gate valve, read on, and discover the art of mastering these essential components.
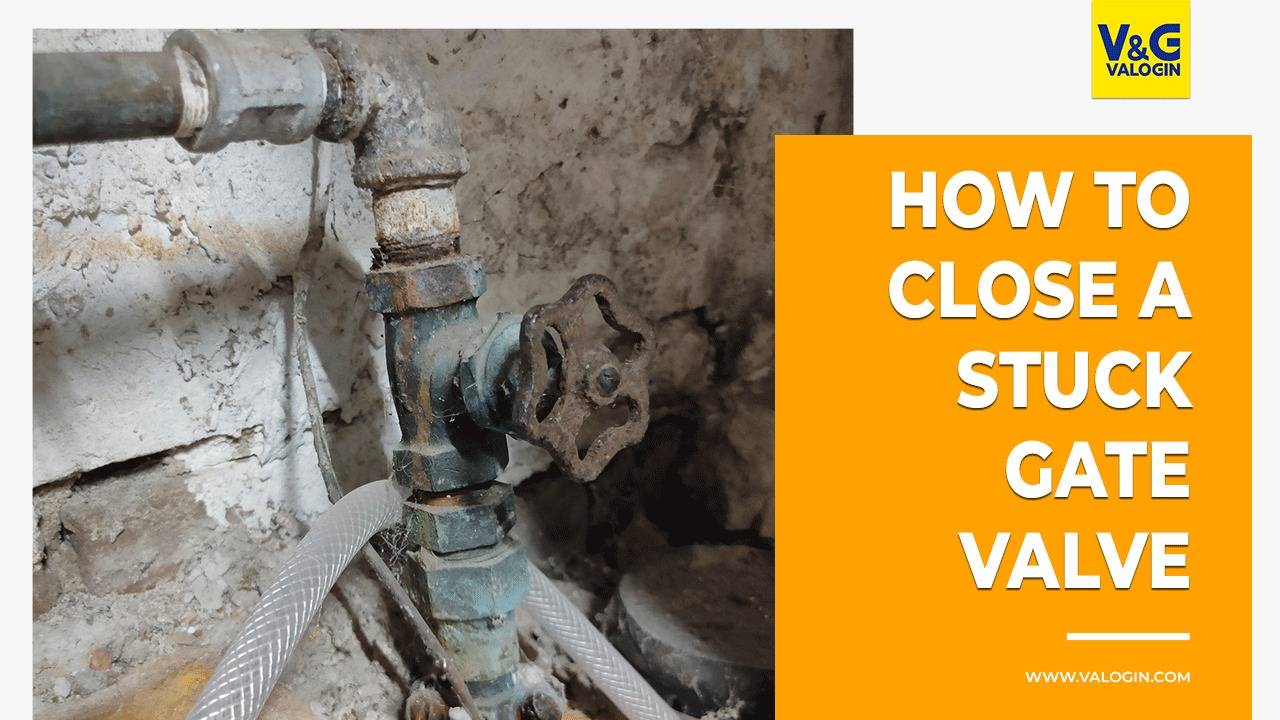
Understanding the Gate Valve’s Anatomy
Before we embark on the journey to free a stuck gate valve, it’s crucial to understand its structure. Gate valves consist of several key components, including the valve body, stem, gate disc, and the bonnet. The gate disc, which controls the flow of fluid through the valve, moves up and down along the valve stem. When the valve is in the open position, the gate disc is fully retracted into the valve body, allowing unimpeded flow. To close the valve, the gate disc is lowered to block the flow path.
Reasons Behind Stuck Gate Valves
Gate valves can become stuck for various reasons, including corrosion, sediment buildup, or mechanical issues. Understanding the underlying cause is the first step in resolving the problem effectively.
- Corrosion: Over time, exposure to moisture and chemicals can lead to corrosion of the valve’s internal components. This corrosion can cause the gate disc to adhere to the valve body, making it difficult to move.
- Sediment and Debris: The presence of sediment, dirt, or debris within the pipeline can accumulate around the gate disc, hindering its movement. This is a common issue in valves that control water flow.
- Mechanical Issues: Sometimes, mechanical issues such as a damaged stem or worn-out components can lead to a gate valve getting stuck.
Tools and Materials You’ll Need
Before attempting to free a stuck gate valve, gather the following tools and materials:
- Adjustable wrench
- Pipe wrench
- Lubricating oil or penetrating oil
- Rubber mallet or hammer
- Pipe cleaner or wire brush
- Safety goggles and gloves
- Container for debris disposal
The Step-by-Step Process
Step 1: Prioritize Safety
Embarking on the journey to free a stuck gate valve begins with a paramount focus on safety. Safeguard yourself against potential hazards by donning protective goggles and gloves. These essentials serve as a crucial shield, providing you with the confidence to tackle the upcoming repair process with the utmost care and precaution.
Step 2: Valve Position Identification
As you set the stage for the intricate task ahead, take a moment to discern the current position of the gate valve. Should it find itself stubbornly stuck in the open position, redirect your efforts towards closing it before delving into the intricacies of the repair. This initial assessment lays the foundation for a strategic and targeted troubleshooting approach.
Step 3: Application of Penetrating Oil
Equipped with a pipe cleaner or wire brush, initiate the cleaning process to rid the valve stem and gate disc of any loose debris or rust. The pivotal next step involves the liberal application of penetrating oil. This specialized oil serves a dual purpose: penetrating the confined spaces around the valve stem and, crucially, loosening the grip of any corrosion or rust that may be impeding the valve’s fluid motion.
Step 4: Waiting and Tapping
With the application of penetrating oil, patience becomes your ally. Allow a generous window of 15 to 20 minutes for the oil to permeate and work its magic. Concurrently, engage in a delicate tapping dance on the valve stem, wielding a rubber mallet or hammer. This rhythmic tapping action aims to dislodge any lingering corrosion or debris, gradually coaxing the valve towards liberation.
Step 5: Wrench Utilization
In the event that tapping fails to yield the desired results, introduce an adjustable wrench into the equation. Skillfully grip the valve stem just below the handwheel, applying a delicate yet firm pressure. Exercise caution and restraint during this step, understanding that a patient approach is paramount; any hasty maneuvers may inadvertently exacerbate the existing damage.
Step 6: Pipe Wrench as a Last Resort
Should the valve continue to defy liberation, the pipe wrench emerges as the last resort, offering increased leverage. Attach the pipe wrench to the valve stem, initiating a slow and deliberate application of pressure. This juncture demands meticulousness, as the objective is to overcome resistance without inflicting any additional harm upon the valve stem.
Step 7: Repeat Penetrating Oil Application
Should the valve exhibit signs of movement but still resist your efforts, return to the penetrating oil. Once again, generously apply the oil and cycle through the tapping, wrench, or pipe wrench techniques as required. This iterative process enhances the efficacy of the penetrating oil, ensuring it penetrates and dismantles the stubborn remnants of corrosion.
Step 8: Inspection and Testing
With the valve successfully freed, transition into a comprehensive inspection phase. Scrutinize the valve for visible damage or wear that might compromise its functionality. Should such issues arise, contemplate the prudent course of action, potentially opting for a replacement. Otherwise, subject the valve to a meticulous series of controlled openings and closings, validating its restored operational smoothness.
Step 9: Cleanup
As the final act in this intricate performance, turn your attention to a thorough cleanup. Responsibly dispose of any debris, oil-soaked materials, and used cleaning tools in a suitable container. This conscientious cleanup not only marks the conclusion of the repair process but also paves the way for a safe and organized workspace, ensuring readiness for future maintenance endeavors.
Conclusion
Resolving a stuck gate valve requires patience, the right tools, and a methodical approach. By understanding the valve’s structure and the potential causes of sticking, you can effectively address the issue and restore proper functionality. Remember that safety should always be a priority, and if you encounter significant resistance or damage, it may be best to consult a professional for further assistance. With these techniques in your toolkit, you can confidently tackle the challenge of a stuck gate valve and keep your fluid control systems running smoothly.

