
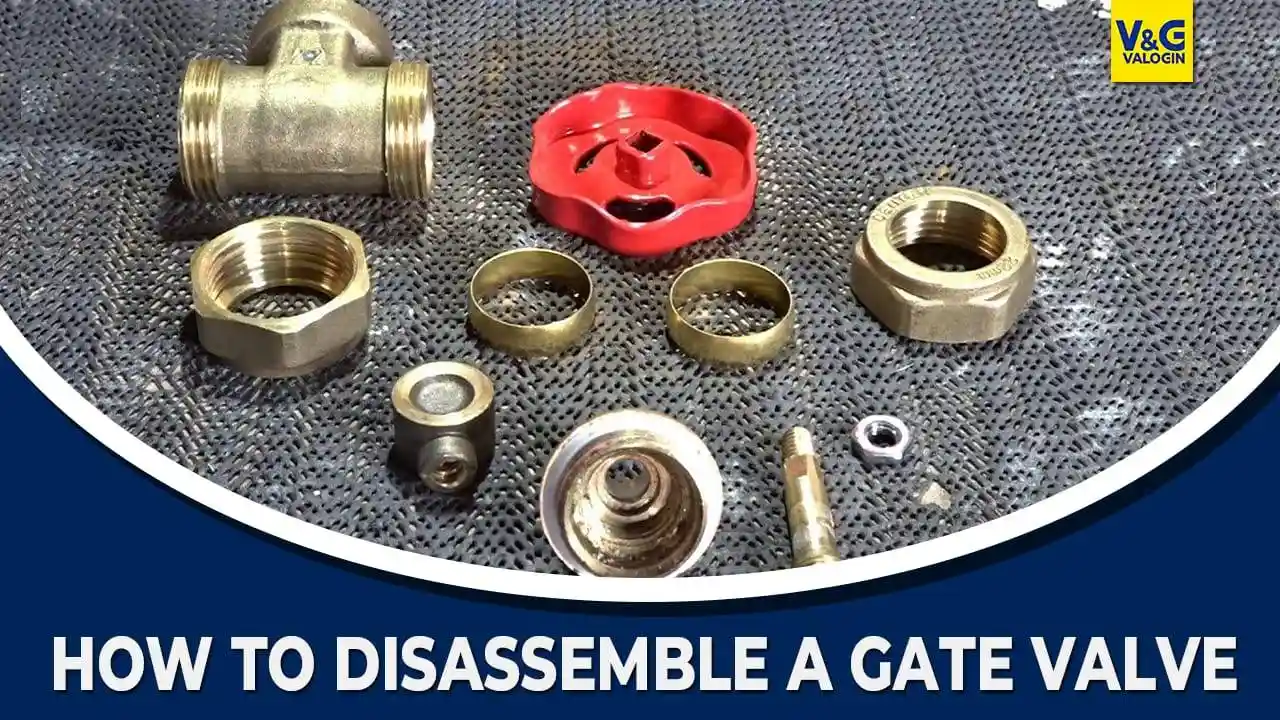
Gate valves are critical components used in various industries to control the flow of fluids in pipelines. However, there may be occasions when disassembling a gate valve becomes necessary for maintenance, repairs, or component replacement. Proper disassembly is crucial to ensure a smooth and efficient process without causing damage to the valve or surrounding equipment. In this comprehensive guide, we will provide you with a step-by-step walkthrough on how to disassemble a gate valve effectively.
From preparing the necessary tools and ensuring safety measures to shutting off the flow and releasing pressure, each step will be carefully explained. We will guide you through the removal of the handle and bonnet, the disassembly of the stem and disc assembly, and the inspection and potential replacement of components. The reassembly process and final testing to ensure proper functioning will also be covered. By following this guide, you will gain the knowledge and confidence to disassemble a gate valve correctly, enabling you to perform necessary maintenance tasks or repairs with ease and precision.
Step 1: Preparation and Safety Measures
Before embarking on the disassembly process, it’s absolutely vital to place a strong emphasis on ensuring your personal safety. This entails suiting up with protective gloves and dependable eyewear that shields your eyes effectively. To facilitate a seamless disassembly, meticulously assemble the indispensable tools required for the task at hand.
This toolkit should encompass key items such as an adjustable wrench, an assortment of screwdrivers encompassing both flathead and Phillips options, as well as the versatility of pliers. Depending on the scale of the valve, it might be prudent to also include a pipe wrench or socket set in your arsenal to enhance your capabilities during the disassembly journey.
Step 2: Shut Off and Release Pressure
Identify the upstream and downstream isolation valves that are linked to the gate valve in question. Carefully close both of these valves in order to effectively halt the flow of whatever substance is being controlled by the gate valve. In the event that isolation valves are not present, take the initiative to deactivate the main line, which will initiate the depressurization process across the entire system. Prior to proceeding with any further steps, it is absolutely crucial to ensure that all pressure within the system has been safely released. This precaution is essential to maintain a safe environment and prevent any unexpected incidents during the subsequent stages of work.
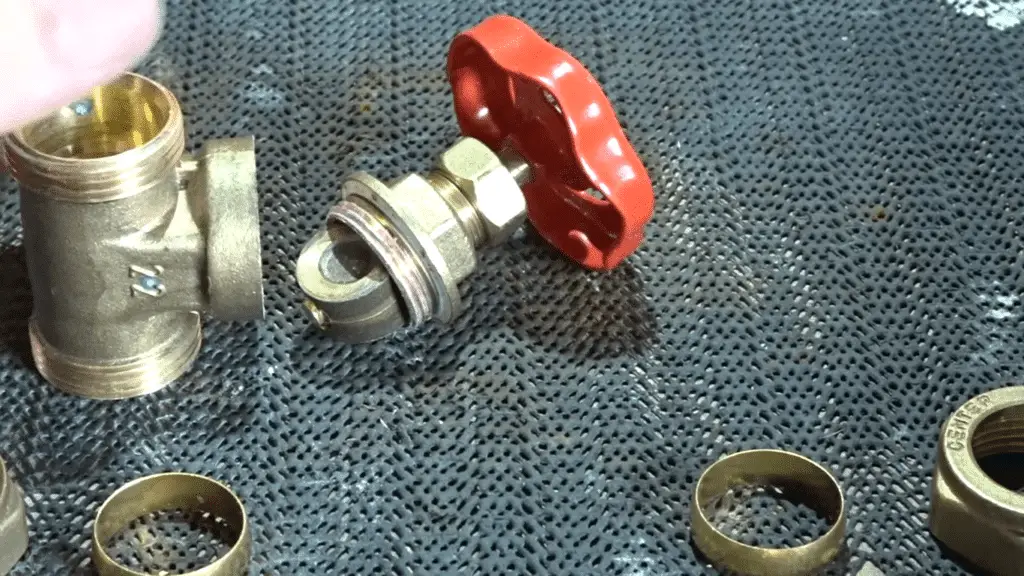
Step 3: Remove Handle and Bonnet
Locate the handle of the gate valve, which typically controls its operation. Depending on the specific design of the valve, you might find a set screw or a securing nut that fastens the handle onto the valve stem. Employ the suitable tool to gently loosen and subsequently remove the handle from its position. Once the handle has been successfully detached, identify the bonnet, a protective covering positioned over the valve body.
With the assistance of an adjustable wrench, carefully initiate the loosening process for the bonnet. To achieve this, turn the wrench counterclockwise, allowing the bonnet to gradually disengage from its original placement. This step-by-step approach will pave the way for accessing and addressing the inner components of the valve system.
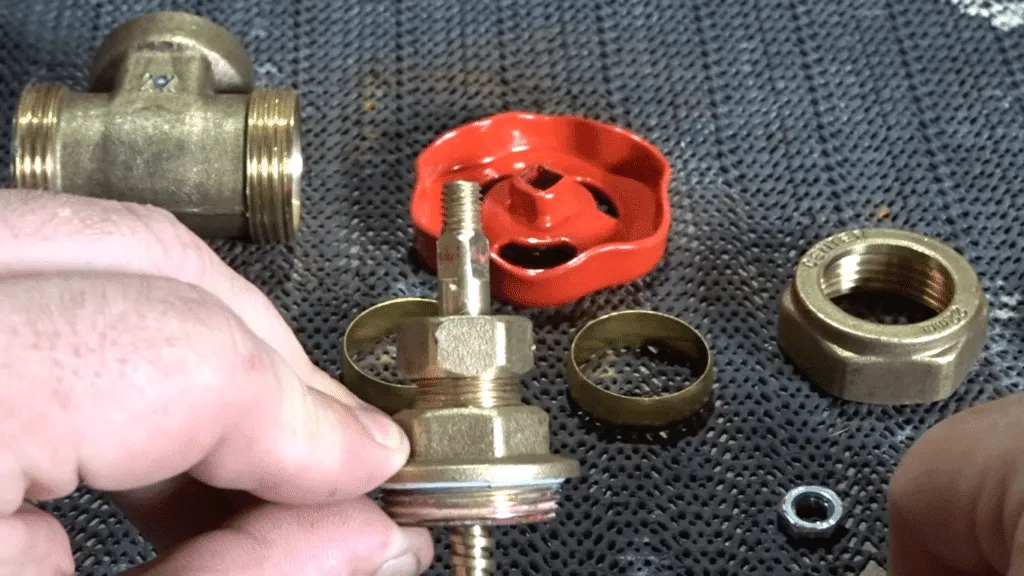
Step 4: Disassemble Stem and Disc
With the bonnet removed, you will gain access to the stem and disc assembly. Some gate valves have additional components, such as packing nuts or packing glands, securing the stem. Carefully remove these components, ensuring you keep track of their order for reassembly. Once the stem is free, pull it out gently, bringing the disc along with it. Take note of the disc orientation for proper reassembly.
Step 5: Inspect and Replace Components
Now that the gate valve is disassembled, take the opportunity to inspect each component thoroughly. Check the stem, disc, seating surfaces, and packing materials for signs of wear, damage, or corrosion. If any components show signs of deterioration, it is recommended to replace them with suitable replacements to ensure optimal valve performance.
Step 6: Reassembly and Testing
To reassemble the gate valve, follow the reverse order of the disassembly steps. Insert the stem and disc assembly back into the valve body, ensuring proper alignment and orientation. Secure any packing nuts or packing glands and tighten them to the manufacturer’s specifications. Place the bonnet back onto the valve body and tighten it clockwise using an adjustable wrench. Finally, reattach the handle, securing it with the set screw or nut.
After reassembly, test the gate valve by slowly opening and closing it to verify smooth operation and proper sealing. Inspect all connections to ensure they are tight and leak-free. Once you are confident in the valve’s functionality, it can be returned to service.
Conclusion:
Disassembling a gate valve requires careful attention to safety, the use of appropriate tools, and a systematic approach. By following the step-by-step guide outlined in this blog post, you can confidently disassemble a gate valve for maintenance, repairs, or component replacement.
Remember to prioritize safety, consult the valve manufacturer’s instructions when needed, and take note of proper reassembly procedures. Effective maintenance and timely repairs ensure the longevity and optimal performance of gate valves in various industrial applications

