
When it comes to maintaining the optimal performance of your gate valve, periodic rebuilding can work wonders. A gate valve, a crucial component in many plumbing systems, may encounter wear and tear over time, resulting in issues like leakage or reduced efficiency. However, fear not! Rebuild a gate valve is a cost-effective and straightforward process that can breathe new life into this essential device. In this comprehensive guide, we will take you through the step-by-step procedure on how to rebuild a gate valve, enabling you to restore its functionality and ensure a smooth flow of fluids in your plumbing system. Let’s dive in and learn the art of gate valve rebuilding for a leak-free and efficient plumbing experience.
Slider problems are not common but often occur when something gets caught in the guides on the sides or bottom of the valve+ body. This can happen if the slider is left open for a long time. Blocked passageways can cause the valve to not close completely.
But don’t worry, a small blockage doesn’t mean the valve is broken. Shutoff valves can be easily disassembled and cleaned if their path is clogged. Recreating the slider is also easy. After we cover cleaning and disassembly first, we’ll explain how to rebuild the slider.
How to Disassemble a Gate Valve
Step 1:
Gate valves are usually screwed into a wall or positioned between two pieces of pipe. If you encounter any issues with the valve, before proceeding with disassembly, it’s worth attempting a simple solution. Begin by opening the water supply to the valve as high as possible. With the water flowing, slowly open and close the valve to see if it helps loosen any debris that might be obstructing the slider. This maneuver aims to free up the valve and potentially allow you to close it completely, resolving the problem without further disassembly.
Step 2:
If the first step didn’t yield the desired results, it’s time to proceed to the next stage. Turn off the water supply connected to the valve to ensure a safe working environment. With the water flow stopped, it’s easier to work on the valve without any complications.
Step 3:
Now that the water supply is off, it’s time to remove the gate valve from its position in the pipe. This process generally involves unscrewing the valve from the wall or detaching it from the surrounding pipework. Once the valve is disconnected, you’ll have better access to its components and can proceed with further troubleshooting.
Step 4:
With the gate valve removed, you’ll notice a slide cover that requires attention. This slide cover may be held in place by a gland nut, which is essential for holding the valve’s components together and preventing fluid from escaping upwards from the spindle. Carefully use pliers to release the slide cover without loosening the gland nut.
Step 5:
Once the slide cover is removed, you’ll have access to the top of the slider along with the handle and seat from the body. This provides an opportunity to thoroughly clean the valve from above. Use a toothbrush or other suitable cleaning tool to remove any accumulated debris or sediments that may be causing the valve’s malfunction.
How to Rebuild a Gate Valve?
Step 1:
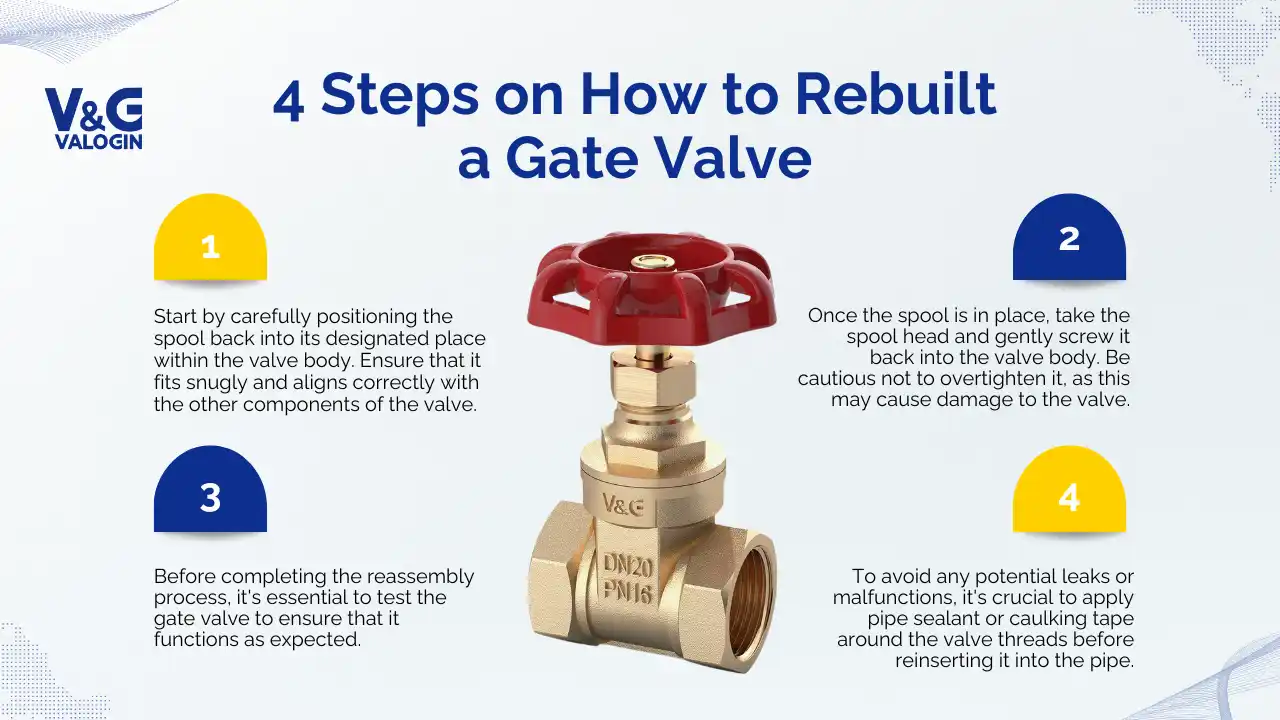
Congratulations on successfully cleaning your gate valve slider! Your efforts have paid off, and now it’s time to move on to the next step – putting the valve back together. Don’t worry; the process is relatively simple. Start by carefully positioning the spool back into its designated place within the valve body. Ensure that it fits snugly and aligns correctly with the other components of the valve. Take your time to do this step correctly as proper alignment is crucial for the valve’s smooth operation.
Step 2:
Once the spool is in place, take the spool head and gently screw it back into the valve body. Be cautious not to overtighten it, as this may cause damage to the valve. On the other hand, ensure it is securely fastened to prevent any leaks in the future. Remember, a well-assembled gate valve is essential to maintaining a reliable flow of fluids through your pipeline or plumbing system.
Step 3:
Before completing the reassembly process, it’s essential to test the gate valve to ensure that it functions as expected. Turn the valve handle to open and close the gate fully. Pay close attention to any resistance or unusual sounds during this process, as they could indicate misalignment or other issues. Moreover, check if the door or gate associated with the valve opens and closes fully without any obstructions. This thorough testing will give you the confidence that your gate valve is back in working order.
Step 4:
To avoid any potential leaks or malfunctions, it’s crucial to apply pipe sealant or caulking tape around the valve threads before reinserting it into the pipe. This will create a secure and watertight seal, ensuring that your gate valve performs optimally and remains leak-free.
Preventive Maintenance: Regular Slider Movement
Fixing a gate valve is not a complicated task but taking preventive measures is even easier. Most issues with gate valves, including mineral build-up, can be prevented with regular maintenance. Make it a habit to fully close and open the sliders on the gate valve every few months. This practice will help eliminate potential problems caused by mineral deposits and ensure the smooth operation of your valve over time.
Replacement Options
In some cases, despite your best efforts, your gate valve’s spool valve may exhibit severe pitting or corrosion, making it difficult to repair. In such situations, you might need to consider a replacement. Fortunately, we provide a wide selection of high-quality sliders at the best prices in the market. Our reliable supplies will ensure that you can easily find a suitable replacement for your gate valve, restoring its functionality to its full potential.
The Conclusion
In conclusion, rebuild a gate valve is a practical and worthwhile endeavor to maintain the seamless flow of fluids in your plumbing system. By following the step-by-step guide provided in this tutorial, you can easily disassemble, clean and reassemble your gate valve, addressing common issues such as leakage and reduced performance. Regular maintenance and preventive measures, like opening and closing the sliders periodically, will help prevent future problems caused by mineral build-up. Remember, a well-maintained gate valve ensures the efficient operation of your plumbing system and saves you from costly repairs in the long run.

