
If you need to isolate a section of your plumbing, add a shutoff point or replace a leaking valve, installing a ball valve on a copper pipe is a smart, reliable solution. Ball valves are known for their durability, full-flow design and ease of operation—they’re widely used in both residential and commercial plumbing systems.
But to get a leak-free, lasting connection, you need to do it right. That means using proper cleaning, fluxing and soldering techniques, especially when working with copper pipe, which depends on solder (sweat) joints for a permanent seal.
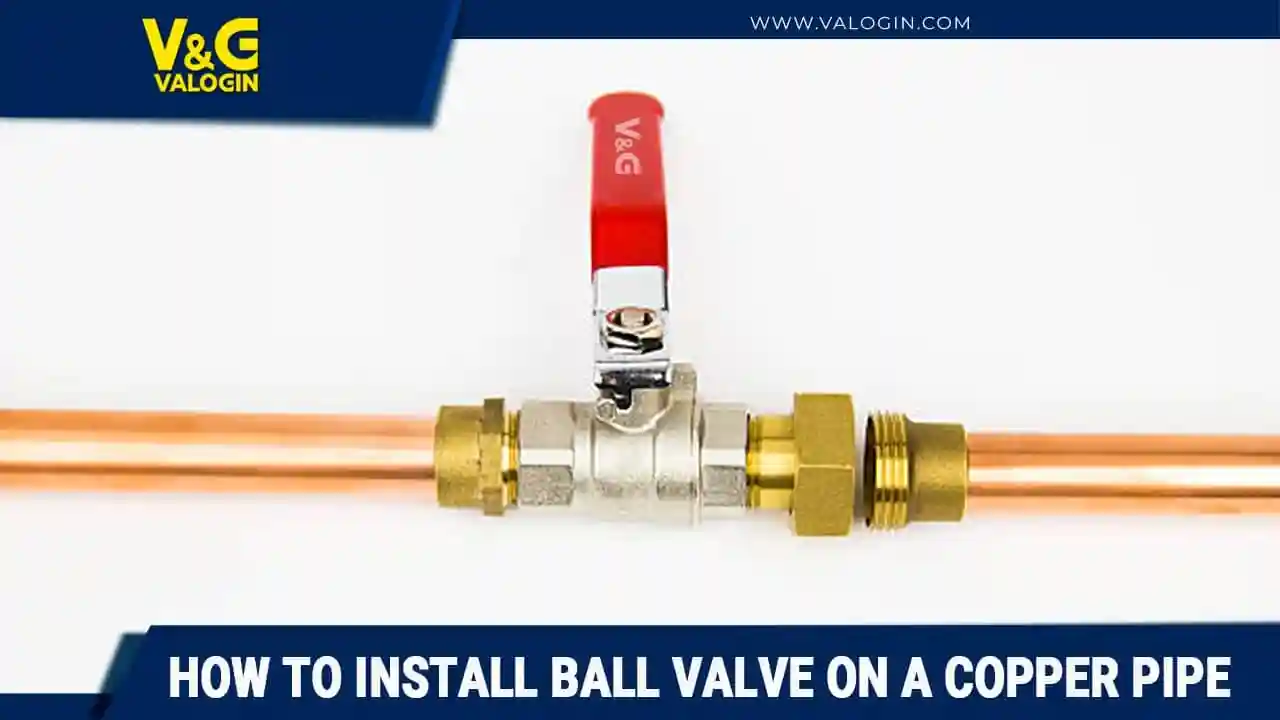
In this detailed guide, we’ll walk you through exactly how to install a ball valve on copper pipe, from shutting off the water to testing your finished installation. Whether you’re replacing an old valve or adding one to a new line, this tutorial will help you get it done confidently and safely.
Tools and Materials You’ll Need
Before you begin, gather all your tools and materials. Having everything ready at the start makes the job smoother and helps prevent mid-project delays.
Tools:
-
Pipe cutter: For making clean, square cuts on copper pipe.
-
Wire brush or emery cloth: Used to clean oxidation from pipe and fittings.
-
Propane or MAP gas torch: To heat the joint and melt the solder.
-
Flux brush: For applying plumbing flux precisely to cleaned surfaces.
-
Adjustable wrench or pliers: For securing fittings and tightening supply lines.
-
Heat shield or flame guard: Protects nearby surfaces from torch heat.
-
Wet rag or sponge: Used to cool the joint and wipe off excess flux.
-
Fire extinguisher: Always have one nearby when working with open flame.
Materials:
-
Copper pipe: Sized to match your existing plumbing (typically ½” or ¾”).
-
Ball valve (sweat connection): Ensure the valve is rated for soldering to copper pipe, not threaded.
-
Lead-free solder: Required by plumbing code for potable water systems.
-
Lead-free plumbing flux: Helps solder bond by preventing oxidation.
-
Refill copper fittings or pipe (if you’re modifying or replacing part of a line).
Choose high-quality materials—this is a long-term fixture that should last for decades with proper installation.
Step 1: Shut Off the Water Supply and Drain the Line
Start by turning off the main water supply to the building or the zone you’re working in. Once the valve is closed, open the lowest faucet in the home (often in a basement or first-floor bathroom) to drain out any standing water in the lines.
Also open a faucet near the work area to allow air in, which helps the water drain more completely.
This step is critical because any remaining water in the pipe will absorb heat from your torch, preventing the copper from reaching the correct temperature for soldering. Even a few drops inside the pipe can make the joint impossible to seal.
If you’re dealing with vertical pipes or long horizontal runs, use a shop vacuum or compressed air to clear any remaining water from the line.
Step 2: Cut the Copper Pipe
Using a pipe cutter, make a clean, straight cut at the desired location. Rotate the cutter around the pipe, tightening slightly with each pass until the pipe is fully severed. This produces a smooth, even cut without deforming the pipe wall.
Avoid using a hacksaw or reciprocating saw unless you have no other option—they can leave burrs or rough edges that interfere with soldering.
After cutting, use a deburring tool, round file or utility knife to carefully smooth the inside edge of the pipe. This prevents turbulence in the pipe and reduces the chance of erosion at the joint.
Step 3: Clean the Pipe and Ball Valve Fittings
Next, you’ll prepare the mating surfaces of the pipe and the ball valve. This step is essential for creating a strong solder bond.
Use emery cloth, sandpaper or a wire fitting brush to thoroughly clean the outside of the copper pipe where the valve will fit. The surface should shine like a new penny. Do the same on the inside of the ball valve’s sweat sockets—the cups where the pipe will be inserted.
Cleaning removes oxidation, dirt and oils that would otherwise block the solder from bonding properly.
Take your time here—any area left dull or dirty could compromise the joint and lead to leaks down the road.
Step 4: Apply Plumbing Flux
Use a flux brush to apply a thin, even coat of lead-free plumbing flux to the cleaned end of the pipe and the inside of the valve socket.
Flux has two important jobs:
-
Prevents oxidation while you heat the joint.
-
Draws the molten solder into the joint using capillary action.
Be careful not to use too much—excess flux can burn, drip and make a mess. Apply just enough to coat the joint surfaces completely. Avoid dipping a used brush into the flux container to prevent contamination.
Step 5: Insert the Ball Valve
Slide the ball valve fully onto the end of the copper pipe. Make sure the pipe is inserted all the way into the valve socket. If you’re installing the ball valve between two pipe ends, repeat the cleaning and fluxing process for the second pipe, then fit both ends into the valve.
Make sure the valve handle is in the open position during soldering. This prevents heat from damaging the internal seals and allows any built-up pressure to escape.
Double-check the orientation of the valve—if it’s a directional valve, align the arrow with the intended water flow direction.
Use a heat shield or flame guard behind the valve if you’re working near wood, drywall or insulation.
Step 6: Heat the Joint Evenly
Light your propane or MAP gas torch and adjust the flame to a medium-blue cone. Begin heating the fitting side of the joint, not the pipe. Move the flame in a circular motion around the valve socket to heat it evenly.
Keep the flame moving to prevent scorching or warping the pipe. After 10–20 seconds, you’ll see the flux begin to bubble and smoke—this means the joint is hot enough for soldering.
Avoid overheating the valve. Prolonged or intense heat can damage the rubber or Teflon seals inside the ball valve.
Step 7: Apply Solder
Now touch the tip of the solder wire to the joint—not to the flame. If the joint is hot enough, the solder will instantly melt and get pulled into the gap between the pipe and the fitting.
Feed solder around the full circumference of the joint until a small, even bead forms. This indicates the solder has fully sealed the gap.
If the solder just sits on the surface or doesn’t melt, the joint isn’t hot enough. If it drips excessively or burns, the joint may be overheated or dirty.
Let gravity help you—start soldering at the bottom of the joint and work your way around to the top.
Step 8: Let It Cool and Clean the Joint
Once the joint is filled, remove the torch and let everything cool naturally. Do not touch, move or wiggle the valve while it’s cooling—this can break the seal or create hairline cracks in the joint.
After a minute or two, test the area by touching it gently. Once it’s cool to the touch, wipe the joint with a damp rag to remove excess flux. Leaving flux residue in place can lead to long-term corrosion.
Inspect the joint visually:
-
The solder should form a clean, continuous ring around the pipe.
-
There should be no gaps, pits or missed spots.
-
The pipe should be fully seated inside the valve.
Step 9: Turn On the Water and Test for Leaks
Slowly turn the main water supply back on and allow pressure to build in the line. Keep the ball valve in the open position at first, then close it and observe how it seals.
Watch the newly soldered joint closely for a few minutes. Look for any signs of moisture, weeping or active leaks.
If there are no leaks and the valve shuts off and opens cleanly, you’ve successfully installed your ball valve.
If you notice a leak, you may need to:
-
Reheat and apply more solder.
-
Disassemble and re-clean the joint for a complete redo.
Leaky joints often come from poor cleaning, inadequate heating or insufficient solder.

Final Thoughts: Why Proper Installation Matters
Installing a ball valve on copper pipe is a valuable skill for any homeowner or DIYer. It lets you isolate parts of your system, perform repairs or upgrade fixtures without calling a plumber.
Done right, a soldered ball valve will last decades with no leaks or failures. The key to success is clean preparation, even heating, quality materials and patience. Don’t rush the job—and always double-check for leaks after the system is re-pressurized.
Whether you’re working on a water heater, main supply line or irrigation manifold, this simple component adds safety, control and convenience to your plumbing system.

